Node-RED installation locally or on AWS EC2
This post demonstrates the process of installing Node-RED locally or on an AWS EC2 instance, running Ubuntu 18.04/20.04.
Node-RED is a programming tool for wiring together hardware devices, APIs and online services in the Internet of Things domain. It provides a browser based pick and place block approach to wire the different components & blocks.
Node-RED is built on Node.js and the flows created in Node-RED are stored in the form of JSON. These flows can be easily imported and exported for sharing with others.
Official Installtion documentation of Node-RED at: https://nodered.org/docs/getting-started/raspberrypi
Installation of Node-RED locally or in an AWS EC2 instance
- Spin up an AWS EC2 instance with the following specifications
- Ubuntu 18.04 Server LTS OS
- 2 vCPUs, 4 GB RAM
- In Security policy,
- Open SSH Port 22 to be accessed only from your local machine
- Open TCP Port 1880 to be accessed from any IP (0.0.0.0/0)
- In the terminal, Update your Ubuntu repositories
sudo apt update
- Run this script to install Node-RED in an Ubuntu/Debian OS or on a Rasperry Pi running Raspian OS
bash <(curl -sL https://raw.githubusercontent.com/node-red/linux-installers/master/deb/update-nodejs-and-nodered)
- Enable Node-RED to start at boot up.
sudo systemctl enable nodered.service
sudo systemctl start nodered.service
- Start Node-RED in your browser by putting in the URL as
- http://localhost:1880 if you are installing in your local Ubuntu machine
- http://AWS-EC2-PublicIP:1880 if you are installing in an AWS EC2 instance
- E.g. http://15.206.178.52:1880
- Following should be your browser output if running in an AWS EC2 instance
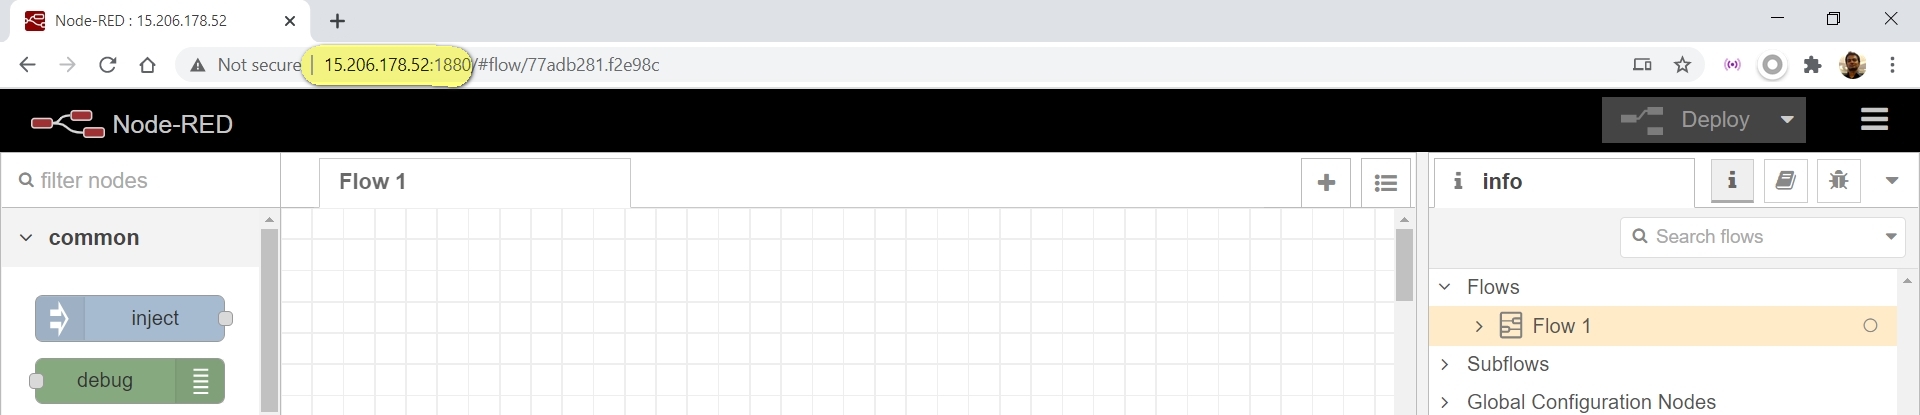
Node-RED on AWS EC2 instance
That’s it. Enjoy learning and exploring Node-RED!